I know that the bedroom is supposed to be your place of rest, relaxation and solitude but for many, many months that simply was not the case and it was a place of neglect, haphazard sheets and strewn laundry. It's a pretty compact room to begin with. There's not enough space for a king bed and there's no walk-in closet. The clothes kept piling up in particular, and things like lack of storage/lack of walkable space really sent me over the edge. At one point I stopped clothes shopping for a few months because I was saddened by the reality that we actually had no space for them. (Note to self when future house hunting: Walk-in closets really are life changing.)
It was time for change...
I found my inspiration, in all places, from IKEA. =) I stumbled upon this video below, which shows you how to convert a bedroom into one large walk-in closet.
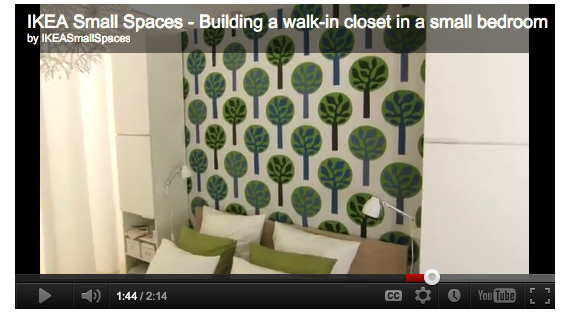
I paused it at and took a screenshot at 1:44. My a-ha moment, when she showed the bed, flanked by two kitchen cabinets. I thought, what a nifty idea to create some extra space without sacrificing precious floor space! See video here.
So it began....
Step 1: Buy a bed. (November 2011.) Husband assembly required.


Say hi to the West Elm simple bed frame in chocolate brown. A little too simple but I can live. A little too similar to our old, broken bed. What gives?
Step 2: Headboard! (November 2011 - January 2012.) I always knew I wanted a white tufted headboard, the taller the better. Just a matter of shopping for something within my budget. And waiting 12 weeks for it to arrive because I chose custom fabric, whoops.
Step 3: Cabinets. (December 2011.) So in the meantime... as you saw in the IKEA video, they used tall kitchen cabinets on either side of the bed to create extra storage, which I thought was genius. I wanted to take advantage of the bedroom's height, so enter the tall GODMORGON bathroom cabinets, as seen in IKEA's magazine bathroom section.
 |
| It's somewhat hard to tell but they are a cool glossy gray in the catalog, which I really loved; unfortunately at our nearest IKEA store they were out of stock. So with quick thinking the chocolate brown LILLANGEN bathroom cabinets were purchased instead. |
 |
| Butters performs quality control over the monstrous box(es). |
 |
| More husband assembly required. |
 |
| Cabinet #1 is up! |
 |
| Take note of my nifty clear shelf. (Thanks, Container Store!) Since we did away with nightstands, this shelf holds cell phones, books, that nighttime glass of water, etc., without compromising floor space. |
 |
| Both cabinets are up! They're very tall. You easily need a step ladder to access the top shelves. |
Step 5: PAINT. (February 2012.) I can assure you, that the day spent painting this one part of the wall behind the bed was NOT anything like Google search images lead you to believe. Allow me to digress. "Couples painting" yields:
| "Oh stop it, that acrylic polymer tickles me so." |
| "I don't care if we lean against this wall full of wet paint, as long as I have you to lean on." |
 |
| Thank you, meetmyuglybaby.com, for exposing the truth. |
 |
| This was, for reasons I hope to laugh at later on, a horrible and tension-filled day. We said despicable things to each other that naturally have nothing to do with the color purple, the color gray, and one's painting willingness and/or abilities. Anyway, I only took this one photo. |
The before & after shots to come, in Part II...